Khatta Dhokla Idada
Hello everybody, it is Louise, welcome to our recipe page. Today, I will show you a way to prepare a special dish, Khatta Dhokla Idada. It is one of my favorites. For mine, I'm gonna make it a bit unique. This will be really delicious.
Khatta Dhokla Idada is one of the most well liked of recent trending meals on earth. It's simple, it's quick, it tastes delicious. It is enjoyed by millions every day. They are fine and they look wonderful. Khatta Dhokla Idada is something that I have loved my whole life.
Many things affect the quality of taste from Khatta Dhokla Idada, starting from the type of ingredients, then the selection of fresh ingredients, the ability to cut dishes to how to make and serve them. Don't worry if you want to prepare Khatta Dhokla Idada delicious at home, because if you already know the trick then this dish can be used as an extraordinary special treat.
As for the number of servings that can be served to make Khatta Dhokla Idada is 3 servings. So make sure this portion is enough to serve for yourself and your beloved family.
Just in addition, the time it takes to cook Khatta Dhokla Idada estimated approx 20 minutes.
To get started with this particular recipe, we have to first prepare a few ingredients. You can have Khatta Dhokla Idada using 13 ingredients and 8 steps. Here is how you cook it.
#tech1
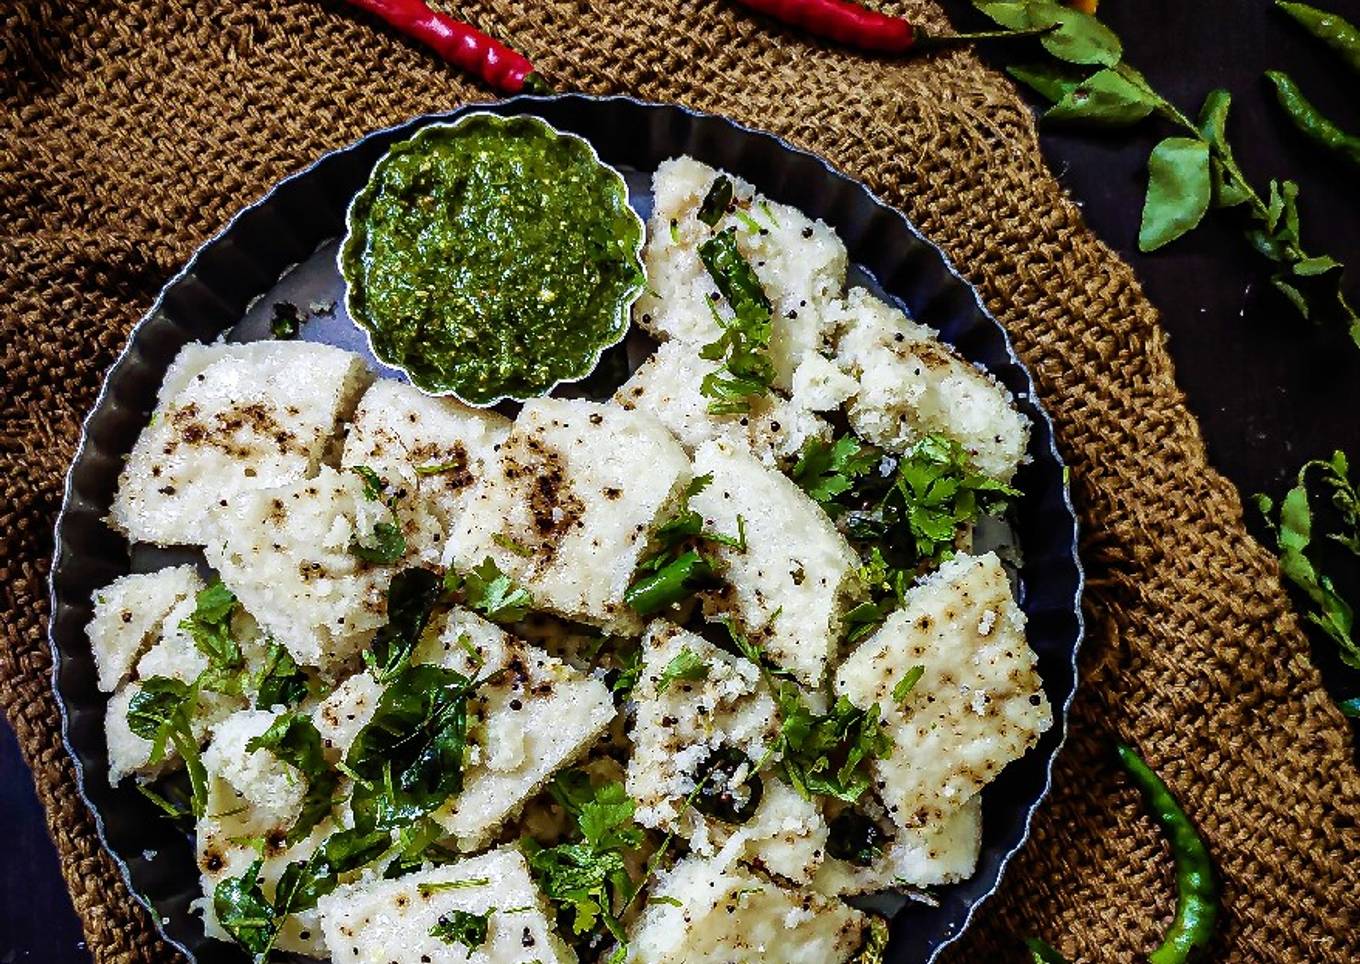
This is a savoury dish belongs to a Gujarati cuisine. This spongy dhokla is prepared using fermented batter of udad daal and rice, and have idli like texture. The generous amount of tempering of curry leaves, mustard seeds, green chillies poured over it and enhances the taste like anything. have it for your breakfast or light dinner and you will be sorted out.
Ingredients and spices that need to be Prepare to make Khatta Dhokla Idada:
- 3 cups boiled rice
- 1 cup udad dal
- 1 tsp Fenugreek seeds
- To taste salt
- 1 cup curd
- 1 tsp ginger garlic paste
- 1 tsp green Chilli paste
- 1 tsp cooking soda
- 2 tbsp oil
- 2 tsp mustard seeds
- 6-7 green chillies
- 7-9 curry leaves
- 2 tbsp coriander leaves
Instructions to make to make Khatta Dhokla Idada
- Soak daal and rice into sufficient water overnight. Also add Fenugreek seeds along with daal. Next morning remove the extra water and transfer it to a mixer jar and grind it to a idli like. batter.
- Mix curd into batter and leave it for further 7-8 minutes for fermentation.
- Now add salt, green chilli paste, gigner-garlic paste and whisk it.
- Add cooking soda to it and mix nicely.
- Pour the batter into greased plates and keep it into steamer for 15 minutes.
- After it is cooked, remove it from the steamer. let it get cool down. Now cut it into pieces.
- Now prepare tempering. Keep oil into tadka pan. Add mustard seeds and let it splutter. Add cut green chillies, curry leaves and pour it over prepared dhokla.
- Add some fresh coriander leaves on top of it and serve along with green chutney.
As your experience and also self-confidence expands, you will locate that you have much more all-natural control over your diet as well as adapt your diet plan to your individual preferences with time. Whether you wish to offer a recipe that utilizes less or more components or is a little bit more or less hot, you can make basic modifications to achieve this goal. In other words, begin making your dishes promptly. As for fundamental cooking skills for novices you do not need to learn them however only if you understand some simple cooking techniques.
This isn't a complete overview to quick and simple lunch dishes yet its great something to chew on. Ideally this will obtain your imaginative juices flowing so you can prepare scrumptious dishes for your family without doing a lot of heavy meals on your trip.
So that's going to wrap it up with this exceptional food Simple Way to Make Speedy Khatta Dhokla Idada. Thank you very much for reading. I am confident you can make this at home. There is gonna be more interesting food at home recipes coming up. Don't forget to bookmark this page in your browser, and share it to your loved ones, colleague and friends. Thank you for reading. Go on get cooking!


Comments
Post a Comment