Hyderabadi Kalyani Dum Biryani
Hello everybody, I hope you're having an incredible day today. Today, I'm gonna show you how to make a special dish, Hyderabadi Kalyani Dum Biryani. One of my favorites. This time, I'm gonna make it a little bit tasty. This will be really delicious.
Hyderabadi Kalyani Dum Biryani is one of the most well liked of current trending meals in the world. It is appreciated by millions daily. It's simple, it's fast, it tastes delicious. They are fine and they look wonderful. Hyderabadi Kalyani Dum Biryani is something that I've loved my whole life.
Many things affect the quality of taste from Hyderabadi Kalyani Dum Biryani, starting from the type of ingredients, then the selection of fresh ingredients, the ability to cut dishes to how to make and serve them. Don't worry if you want to prepare Hyderabadi Kalyani Dum Biryani delicious at home, because if you already know the trick then this dish can be used as an extraordinary special treat.
As for the number of servings that can be served to make Hyderabadi Kalyani Dum Biryani is 5-6 servings. So make sure this portion is enough to serve for yourself and your beloved family.
Just in addition, the time it takes to cook Hyderabadi Kalyani Dum Biryani estimated approx 50-60 minutes.
To get started with this particular recipe, we have to prepare a few ingredients. You can have Hyderabadi Kalyani Dum Biryani using 24 ingredients and 7 steps. Here is how you can achieve that.
#GA4
#week3
This is yet another famous Biryani available in Hyderabad City and is made with Beef instead of Mutton. This Biryani is popularly called as Kalyani Biryani here. The entire process remains the same except for the use of raw Papaya paste which works as a meat tenderizer. Actually in Mutton Biryani, there is no use of any Papaya paste at least by me as the marination of it overnight is enough for the succulent meat. People do use Papaya paste only because of shortage of time or due to forgetting of the marination part. But it's not the same for Beef as it's not like Mutton and requires a good marination time along with the use of Papaya paste. It is a must because Beef requires a long time to get done. Ofcourse there are exceptions where it can be done in pretty much quickly too. However with Beef in hand, Papaya paste is a must for a good juicy and succulent Beef Biryani. Let's get down to the recipe straight away folks without any further delay. Happy Cooking Everyone!
Ingredients and spices that need to be Prepare to make Hyderabadi Kalyani Dum Biryani:
- 1 1/2 kg Basmati Rice
- 2 kg Beef boneless
- 1/4 cup Ginger garlic paste
- 1 tsp Turmeric powder
- 2-3 tbsp Salt or to taste
- 3-4 tbsp Red Chilli powder
- 5-6 Green Chillies slit
- 2 tsp Garam Masala
- 2 small bunches Coriander Leaves finely chopped
- 2 bunches Mint Leaves
- 1/2 kg Yoghurt
- 750 ml Oil
- 1 kg Onions thinly sliced
- WHOLE SPICES -
- 12-14 Cloves
- 1 tbsp Caraway Seeds
- 3-4 Cinnamon sticks (1 inch)
- 6-7 Cardamom pods
- 6-7 Green Chillies whole
- 1 Lemon medium sized
- as required Water for cooking Rice
- 1 tbsp Ghee
- 7-8 Saffron strands
- 1/4 cup Milk
Instructions to make to make Hyderabadi Kalyani Dum Biryani
- Marinate Beef with all the ingredients including the Yoghurt except the whole spices. Add the chopped Coriander and Mint too. Do not forget to add the raw Papaya paste too along with the Lemon juice.


- Keep enough water to boil for the rice. Soak rice only until the water starts boiling. That means, wash and soak Rice just as you keep water for cooking it. As soon as it starts boiling, add soaked Rice, whole spices, some chopped Mint and Coriander leaves to it. Also add a few Green Chillies.
- Remember to boil it for about 20 minutes or just until it vigorously starts bubbling. The grains should be firm. Do not stir it hard. Otherwise they tend to break. Check if they can be easily crushed. This is the right time to switch off the heat. The rice needs to be about 90% cooked. Firm and not mushy. Drain the water and keep it aside.
- Meanwhile deep fry the sliced onions. Spread them on a plate and after about 5 minutes, crush them with your hands and add to the marination. Also add the Oil in which they are fried after it cools down. Mix well.


- Now comes the final part of slow cooking (called as dum). Layer the rice and meat as per your choice, only thing to taken care of is that the top most layer should be that of rice. Sprinkle some Saffron soaked milk on top. Add a generous dollop of ghee on top (optional) and cover it well either by an aluminium foil or a wet thick cotton cloth sealing the corners of the lid.
- I always prefer an aluminium foil. For the first 15 minutes, keep it on a high heat, rotating the vessel every now and then. After 15 minutes, lower the heat and let it simmer for about 30-35 minutes. Turn off the heat after the stipulated time and let the Biryani sit for sometime.

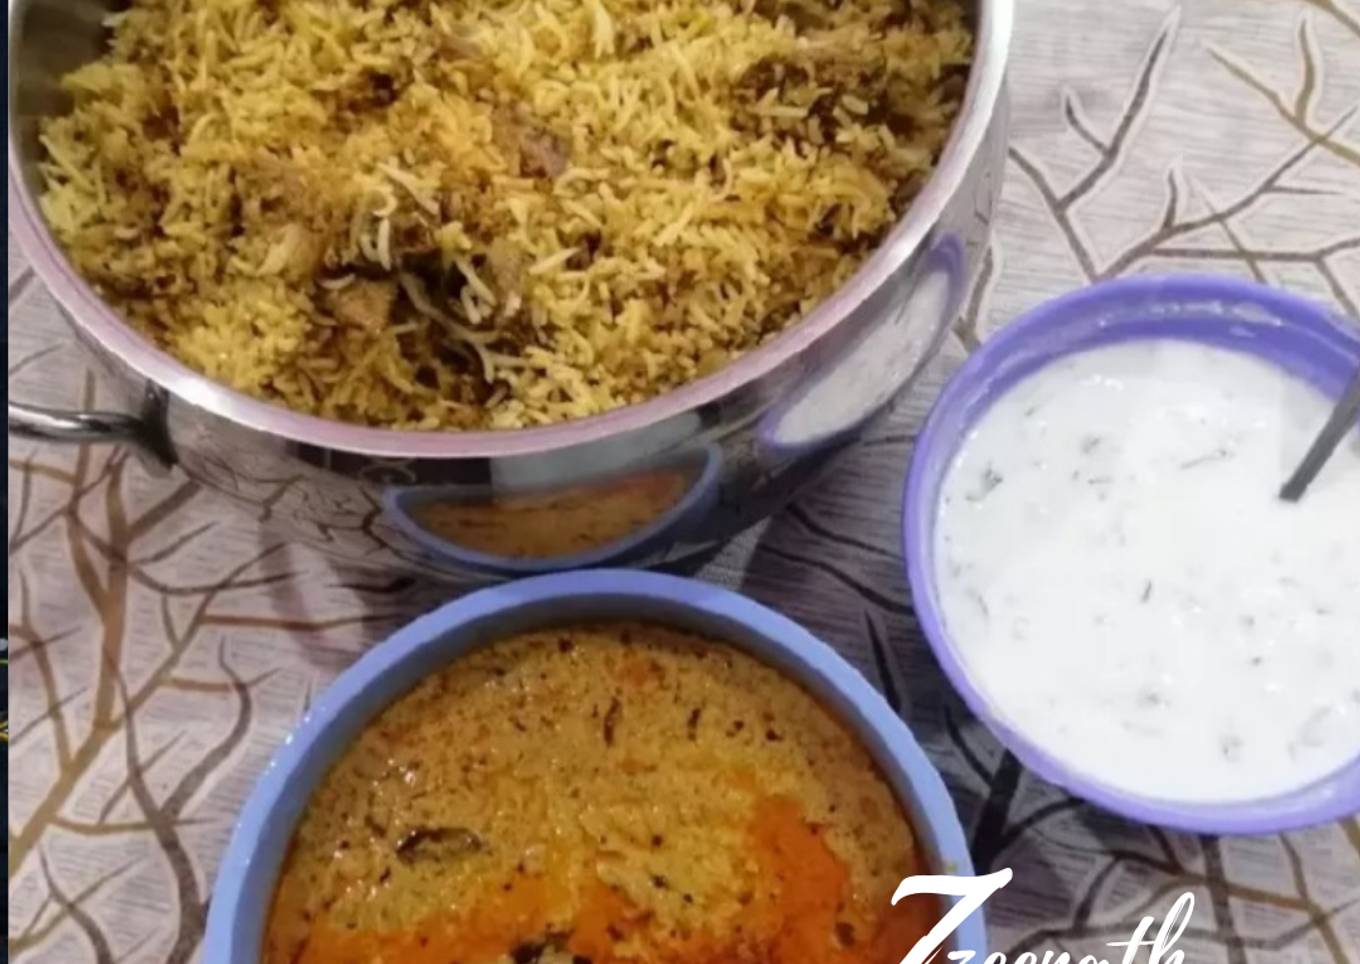
- Serve hot with Burhani raita or plain curd and Baghare Baingan alongside. Mirchi ka Saalan is also a lovely combination that one can consider. Enjoy!


As your experience and confidence expands, you will locate that you have more all-natural control over your diet as well as adjust your diet to your personal tastes gradually. Whether you intend to offer a recipe that utilizes fewer or even more ingredients or is a bit basically spicy, you can make easy changes to attain this goal. To put it simply, begin making your dishes on time. When it comes to basic food preparation skills for beginners you do not require to learn them yet only if you grasp some simple cooking techniques.
This isn't a total guide to quick and easy lunch dishes yet its excellent food for thought. With any luck this will obtain your imaginative juices flowing so you can prepare delicious meals for your family members without doing too many heavy meals on your journey.
So that is going to wrap it up for this exceptional food Recipe of Ultimate Hyderabadi Kalyani Dum Biryani. Thanks so much for your time. I'm sure you will make this at home. There's gonna be interesting food at home recipes coming up. Remember to bookmark this page on your browser, and share it to your family, colleague and friends. Thanks again for reading. Go on get cooking!


Comments
Post a Comment